- Beranda
- Komunitas
- Entertainment
- The Lounge
How to Setup my wavlink wifi extender?

TS
emmarylee
How to Setup my wavlink wifi extender?
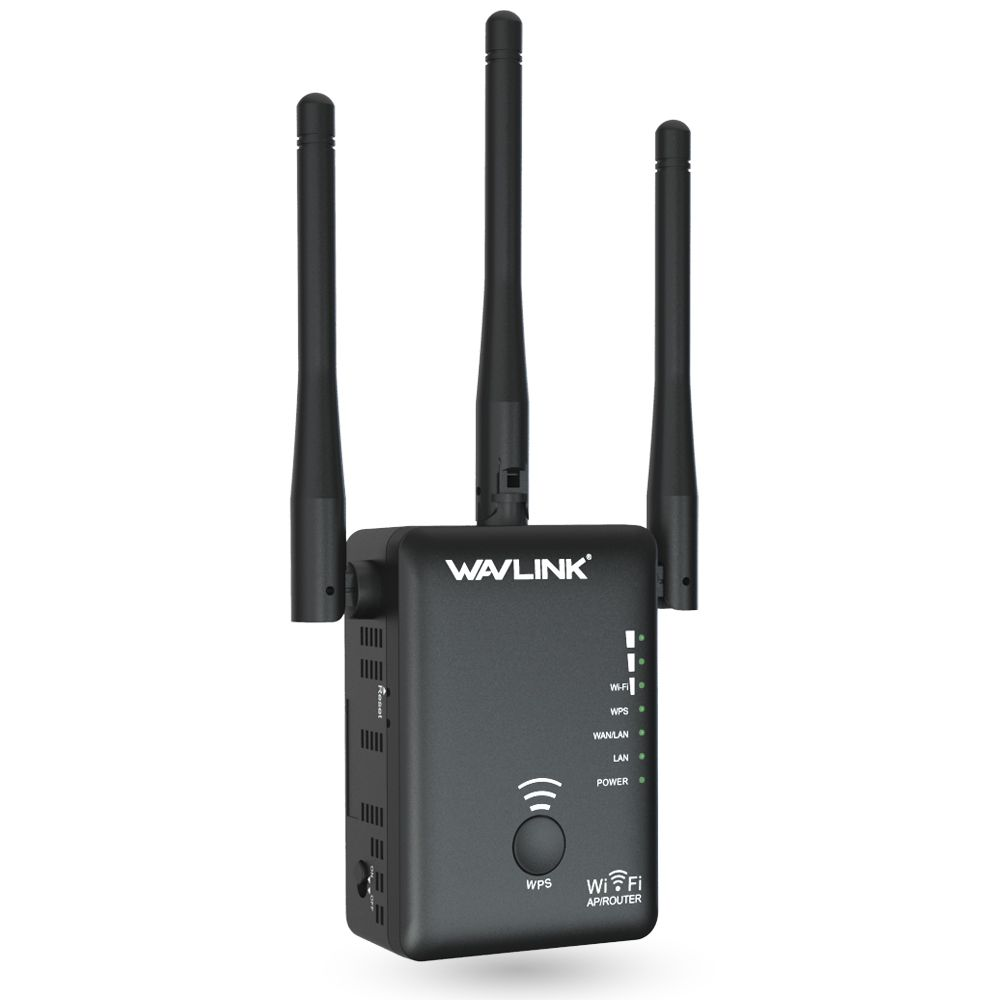
With the Wavlink wifi extender Setup, you can easily extend the range of your existing wireless network from anywhere. To improve the performance and reliability of your existing network, four antennas are grouped in a proprietary omnidirectional configuration. You can connect all of your devices from anywhere in your home thanks to the high-performance antennas. This addon also wirelessly connects to your wifi. As a result, it continuously monitors and improves your router's signals.
Wavlink wifi extender Manual setup
Follow these steps for Wavlink wifi extender Setup through manual method:
1. Plug in the Wavlink Wi-Fi extender into a power outlet near your router.
2. Connect your computer or mobile device to the Wavlink Wi-Fi extender's default Wi-Fi network.
3. Open a web browser and go to the Wavlink Wi-Fi extender's default IP address, which is 192.168.10.1.
4. Enter the default username and password, which is "admin" for both.
5. Click on the "Quick Setup" button and select "Repeater" mode.
6. Select your existing Wi-Fi network from the list of available networks and enter the password.
7. Customise the Wi-Fi network settings for the Wavlink Wi-Fi extender, including the network name (SSID) and password.
8. Click on "Save" to save the settings and apply the changes.
9. Wait for the Wavlink Wi-Fi extender to restart and connect to your existing Wi-Fi network.
10. Move the Wavlink Wi-Fi extender to a location where it can provide the best coverage and range for your Wi-Fi network.
How to configure wavlink wifi extender using WPS?
WPS (Wi-Fi Protected Setup) is a quick and easy way for Wavlink WiFi extender setup. You can setup your Wavlink wifi extender within a couple of minutes by using WPS .
Here are the steps for Wavlink WiFi extender setup using WPS method:
1. Plug in the Wavlink Wi-Fi extender into a power outlet near your router.
2. Press the WPS button on your router.
3. Press the WPS button on the Wavlink Wi-Fi extender.
4. Wait for the Wavlink Wi-Fi extender to connect to your existing Wi-Fi network.
5. Move the Wavlink Wi-Fi extender to a location where it can provide the best coverage and range for your Wi-Fi network.
wavlink wifi extender firmware update
Wavlink extender firmware update refers to the process of updating the software that controls the functionality of the Wavlink extender device. The firmware is a type of software that is embedded in the hardware of the extender, and it controls the way the device operates.
The steps listed below are for the wifi.wavlink.com Wavlink extender update.
1. Begin the Wavlink extender.
2. Take any mobile device.
3. Navigate to 192.168.10.1 or Ap.setup.
4. Choose settings, then firmware upgrade.
5. Complete the firmware upgrade operation by following the steps.
6. It will take a minute, so don't unplug the booster until it is finished.
It's important to note that firmware updates can sometimes introduce new bugs or issues, so it's a good idea to research any updates thoroughly before applying them. Additionally, make sure to follow the manufacturer's instructions carefully to avoid damaging your device.
Common issues during Wavlink wifi extender setup
1. Cannot connect to the Wavlink extender network
2. No internet connection on the Wavlink extender network
3. Weak or inconsistent WiFi signal from the Wavlink extender
4. Unable to access the Wavlink wifi extender setup page
5. Wavlink extender keeps disconnecting from the main router's WiFi network
Troubleshooting Wavlink wifi extender configuration issues
1. Here are some troubleshooting steps for Wavlink WiFi extender setup issues:
2. Make sure the extender is plugged in and powered on.
3. Check that the LED lights are on and indicate that it is ready to be set up.
4. Ensure that you have the correct WiFi network name and password for your primary router.
5. You will need to enter this information during the setup process.
6. Move the extender closer to your primary router during the initial setup process to ensure a strong WiFi signal.
7. You can move it back to its final location after the setup is complete.
8. Reset the extender and try again if you are experiencing issues during the setup process.
9. There should be a reset button on the device that you can press and hold for a few seconds to reset it.
10. Check that the WiFi signal from your primary router is strong in the location where you want to use the extender.
11. Update the firmware on your extender if you are experiencing connection issues.
12. You can usually do this through the extender's web interface.
wavlink wifi extender Factory reset
Wavlink extender reset is the process of returning the Wavlink extender to its factory default settings. This is usually done if the extender isn't working properly or if you want to start over with the configuration.
To reset the firmware of a Wavlink Wi-Fi extender, follow these steps:
1. Find the reset button on your Wavlink Wi-Fi extender.
2. It's usually located on the back or the bottom of the device.
3. Press and hold the reset button for about 10 seconds, until the Power LED starts flashing.
4. Wait for the device to reboot. This may take a few minutes.
Note: Resetting the firmware will erase all settings on the device, including your network name, password, and other configurations. You will need to set up the device again from scratch after resetting the firmware.
0
601
1

Komentar yang asik ya
Urutan
Terbaru
Terlama
Komentar yang asik ya
Komunitas Pilihan